> ## Documentation Index
> Fetch the complete documentation index at: https://docs.wp-content.io/llms.txt
> Use this file to discover all available pages before exploring further.
# Quickstart
> This quickstart guide will help you deploy your plugin or theme in just a few minutes.
Recreate the official WordPress experience for your own plugins and themes with one-click installs and built-in updates, all without writing a single line of code.
## Ready in 3 simple steps
There’s no library to install, no custom logic to write. All WordPress plugins and themes are compatible out of the box.
Just follow these three simple steps to start deploying your code to any WordPress site cleanly, and without effort.
If you haven’t already, [create an account](https://dashboard.wp-content.io/signup) and configure your first organization.
You can start with a free plan, no credit card required.
An organization is your workspace. From there, you can manage your private plugins and themes, browse all published versions, invite collaborators, configure API keys, and define which domains are allowed to receive updates.
To enable updates from an external source, you need to add the Update URI header to your plugin or theme.
For **plugins**, add it to the header of the main .php file:
```php my-plugin/my-plugin.php {6} theme={null}
For **themes**, add it to the style.css file:
```css my-theme/style.css {5} theme={null}
/*
Theme Name: My Theme
Author: Your Name
Version: 1.0.0
Update URI: https://registry.wp-content.io
*/
```
The Author, Version, and Update URI fields are required.
Other headers like Description, Tags, or License are optional, but will be used to enrich the dashboard and update information.
Once this is done, create a ZIP archive of your plugin or theme folder.
You’ll upload it when creating your first release.
To enable updates on your WordPress sites, install the External Repositories plugin.
You can download it for free from [the official webpage](https://wp-content.io/external-repositories).
Once installed and activated, you’ll be redirected to the plugin settings page.
There, you can enter your API key to connect your site to your organization.
When you create an organization, a readonly API key is automatically generated.
You can use this key to allow update checks without exposing write access.
## You’re all set 🎉
Everything is ready, your site is now connected and can receive updates for your private plugins and themes.
You’ll also find a new tab when adding a plugin or a theme from the WordPress admin.
This view lets you browse the items linked to your account and install them in one click.
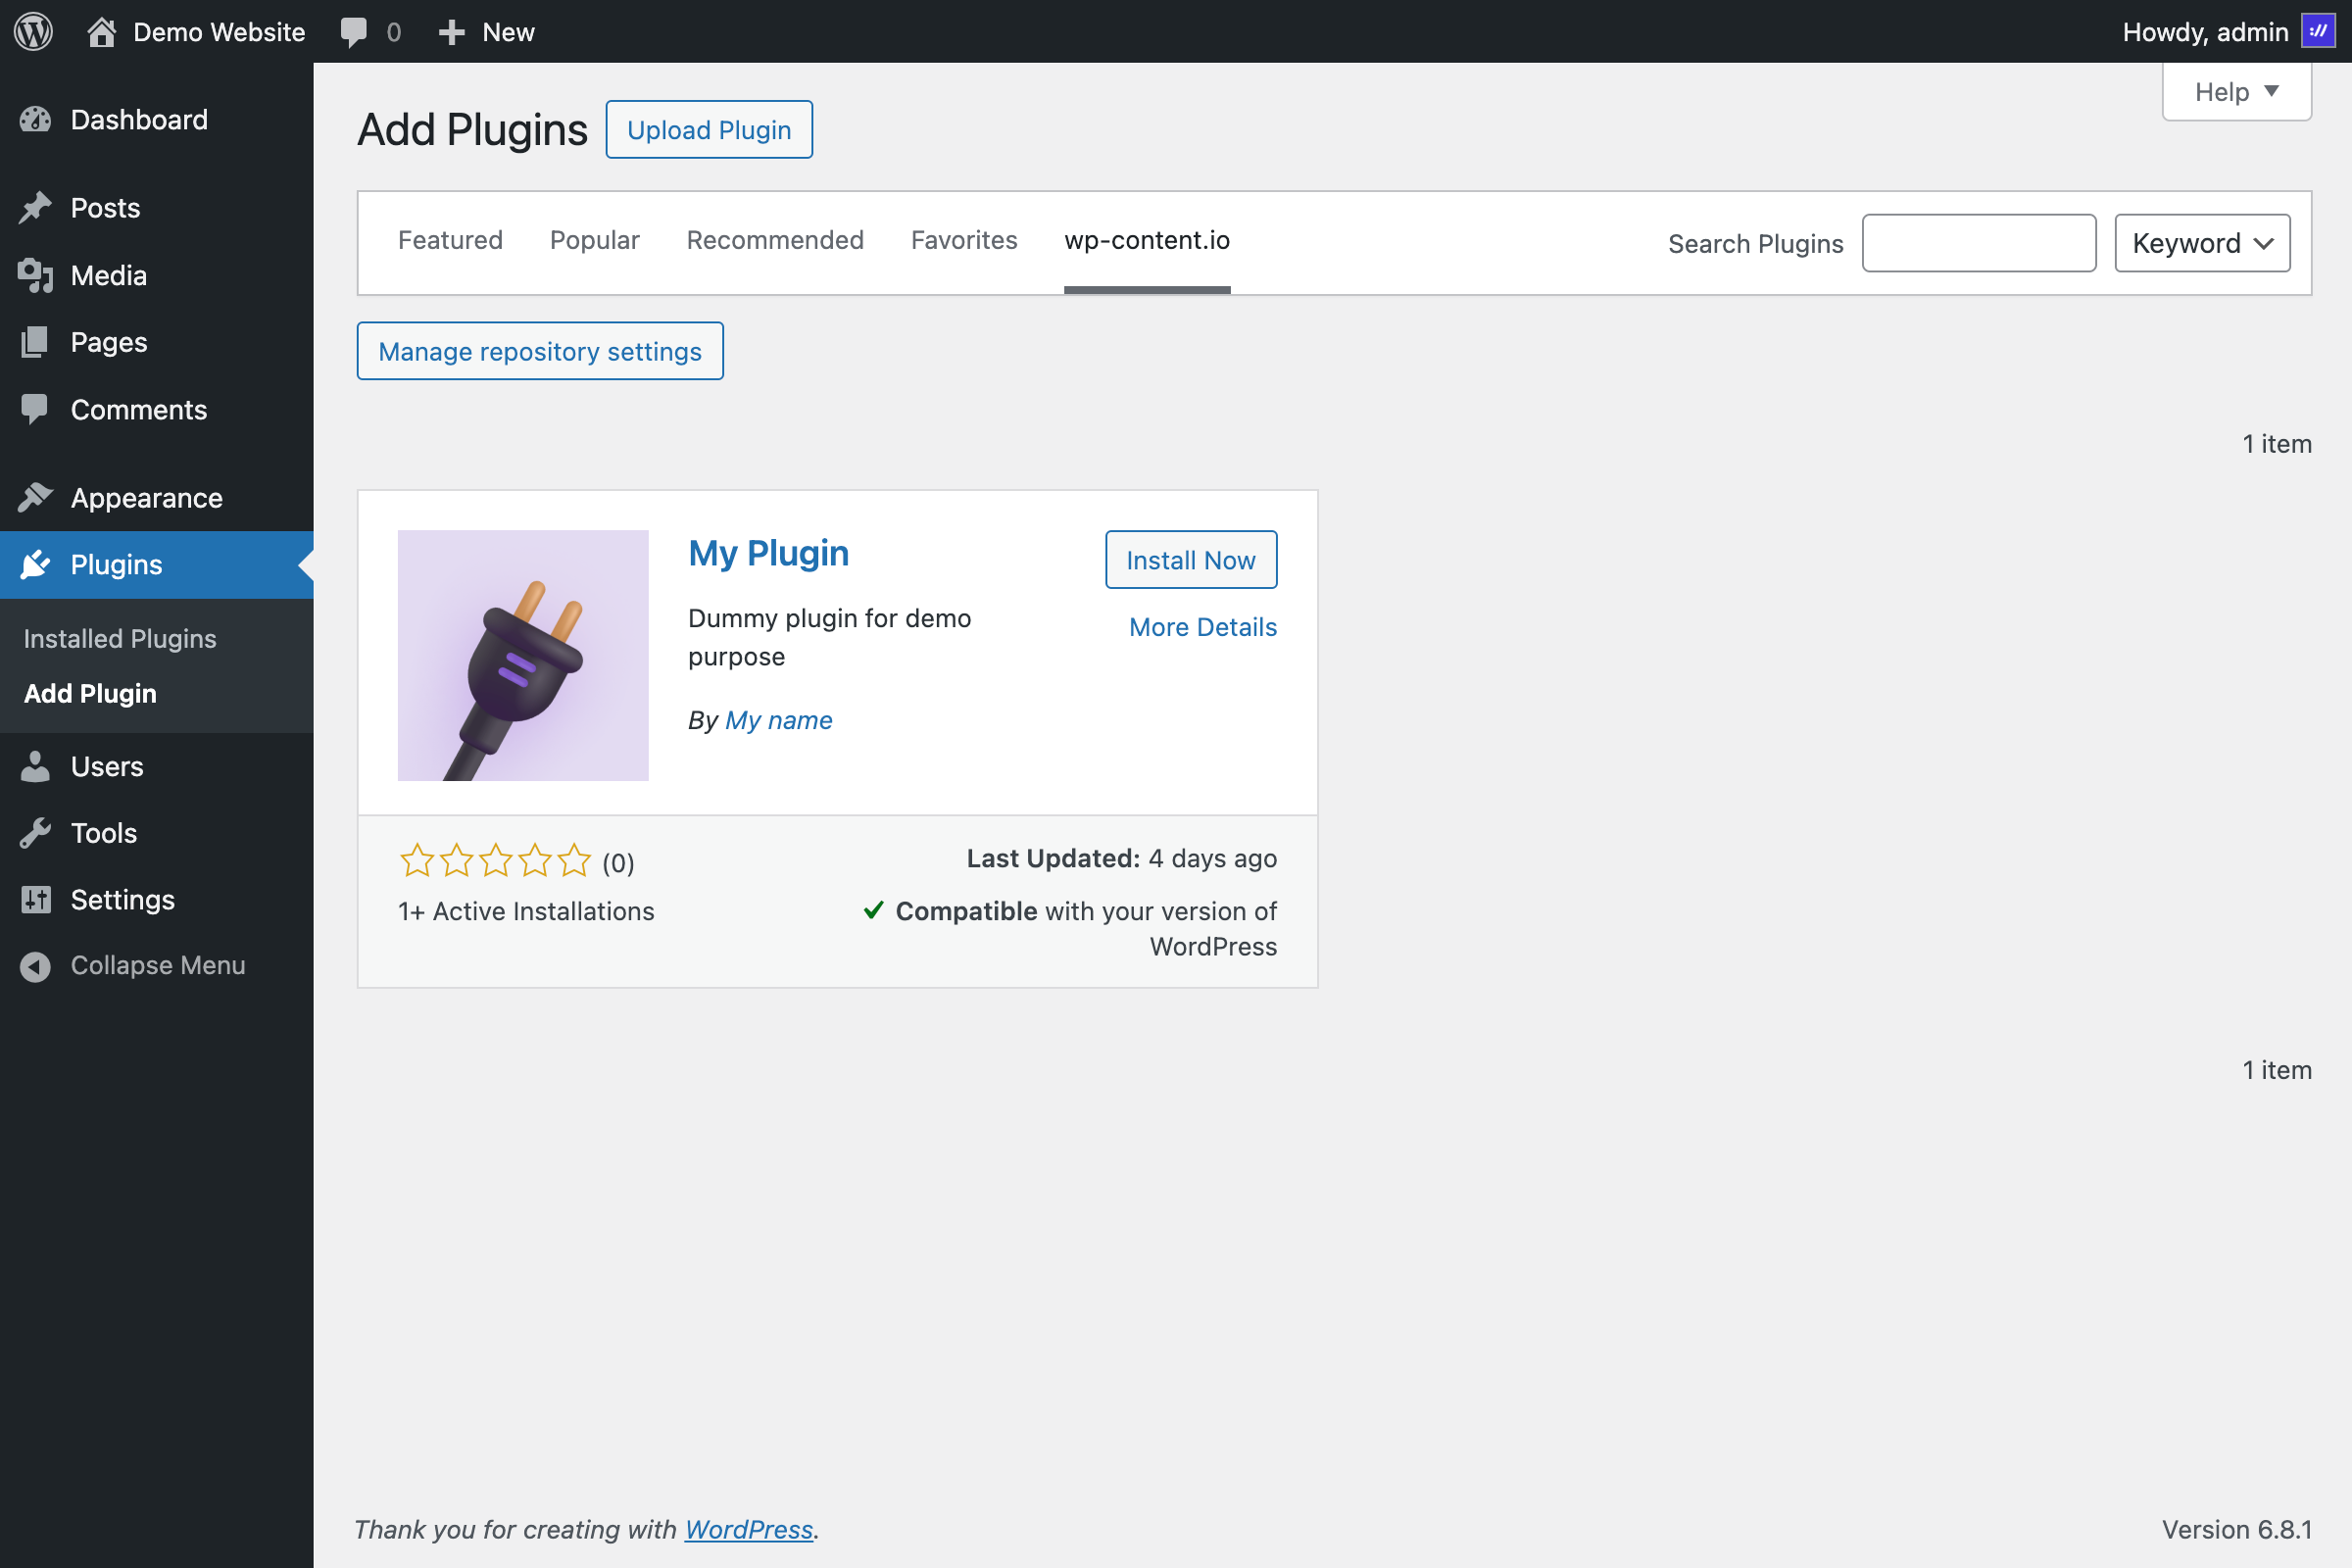
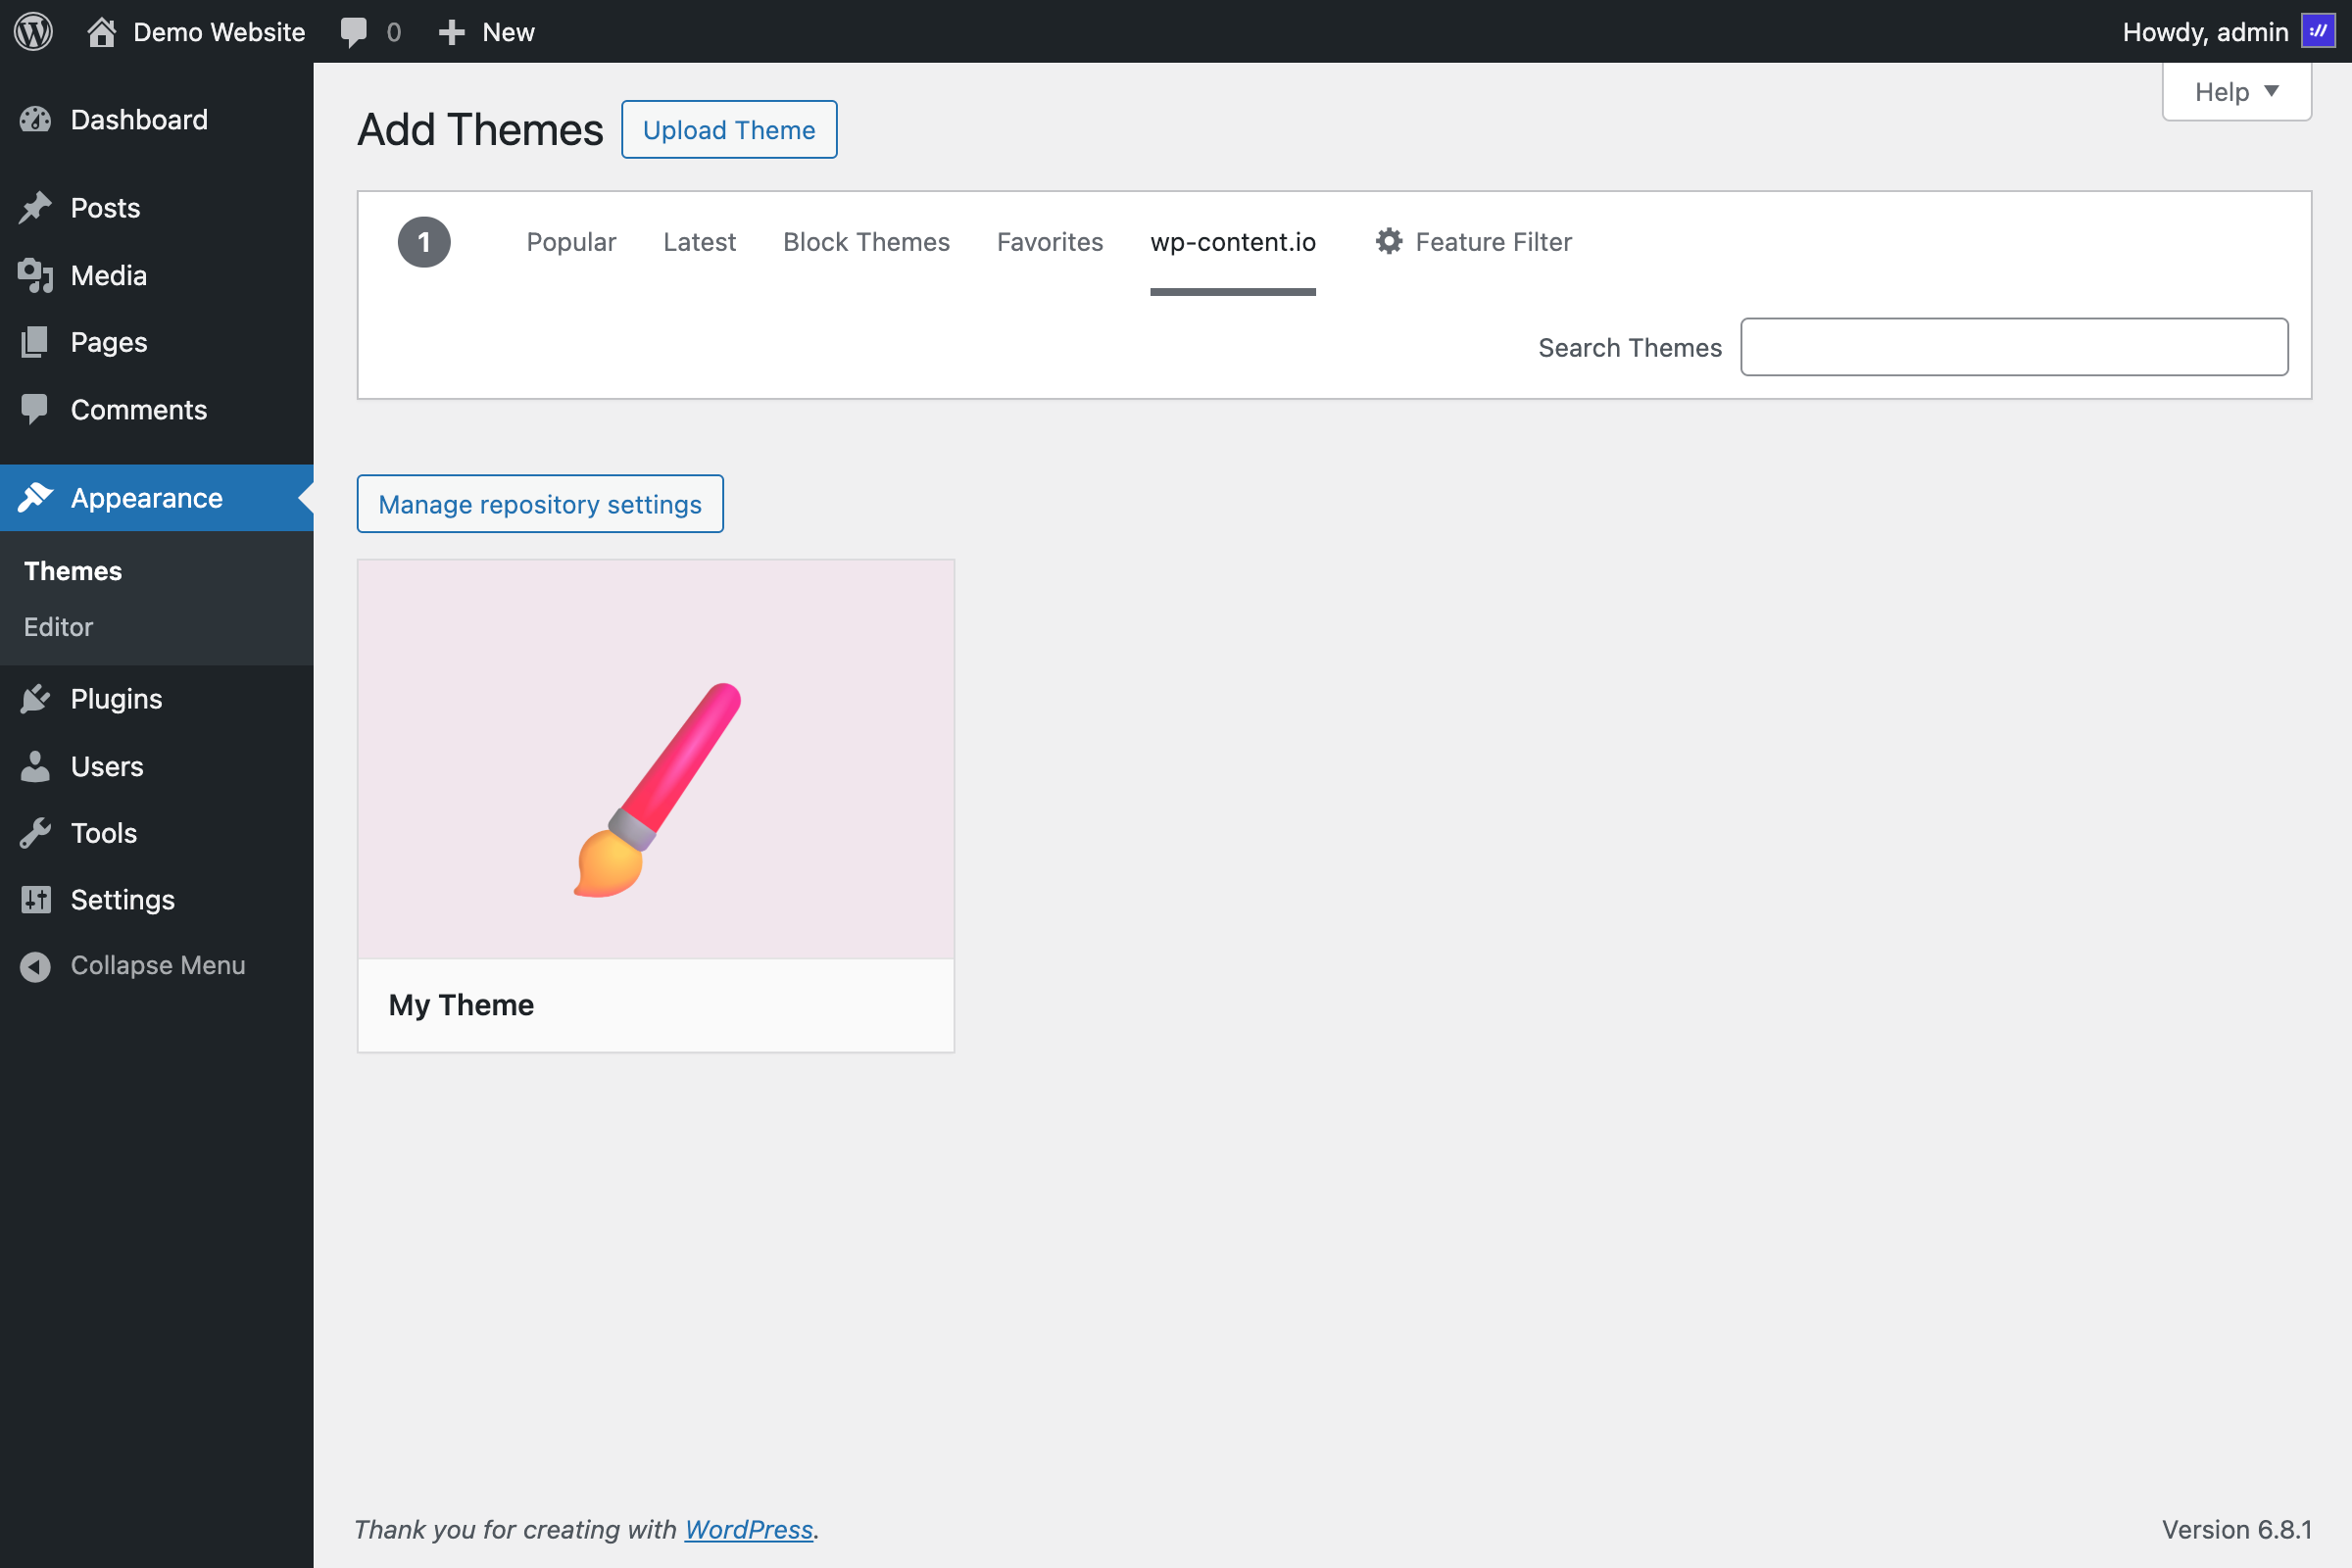
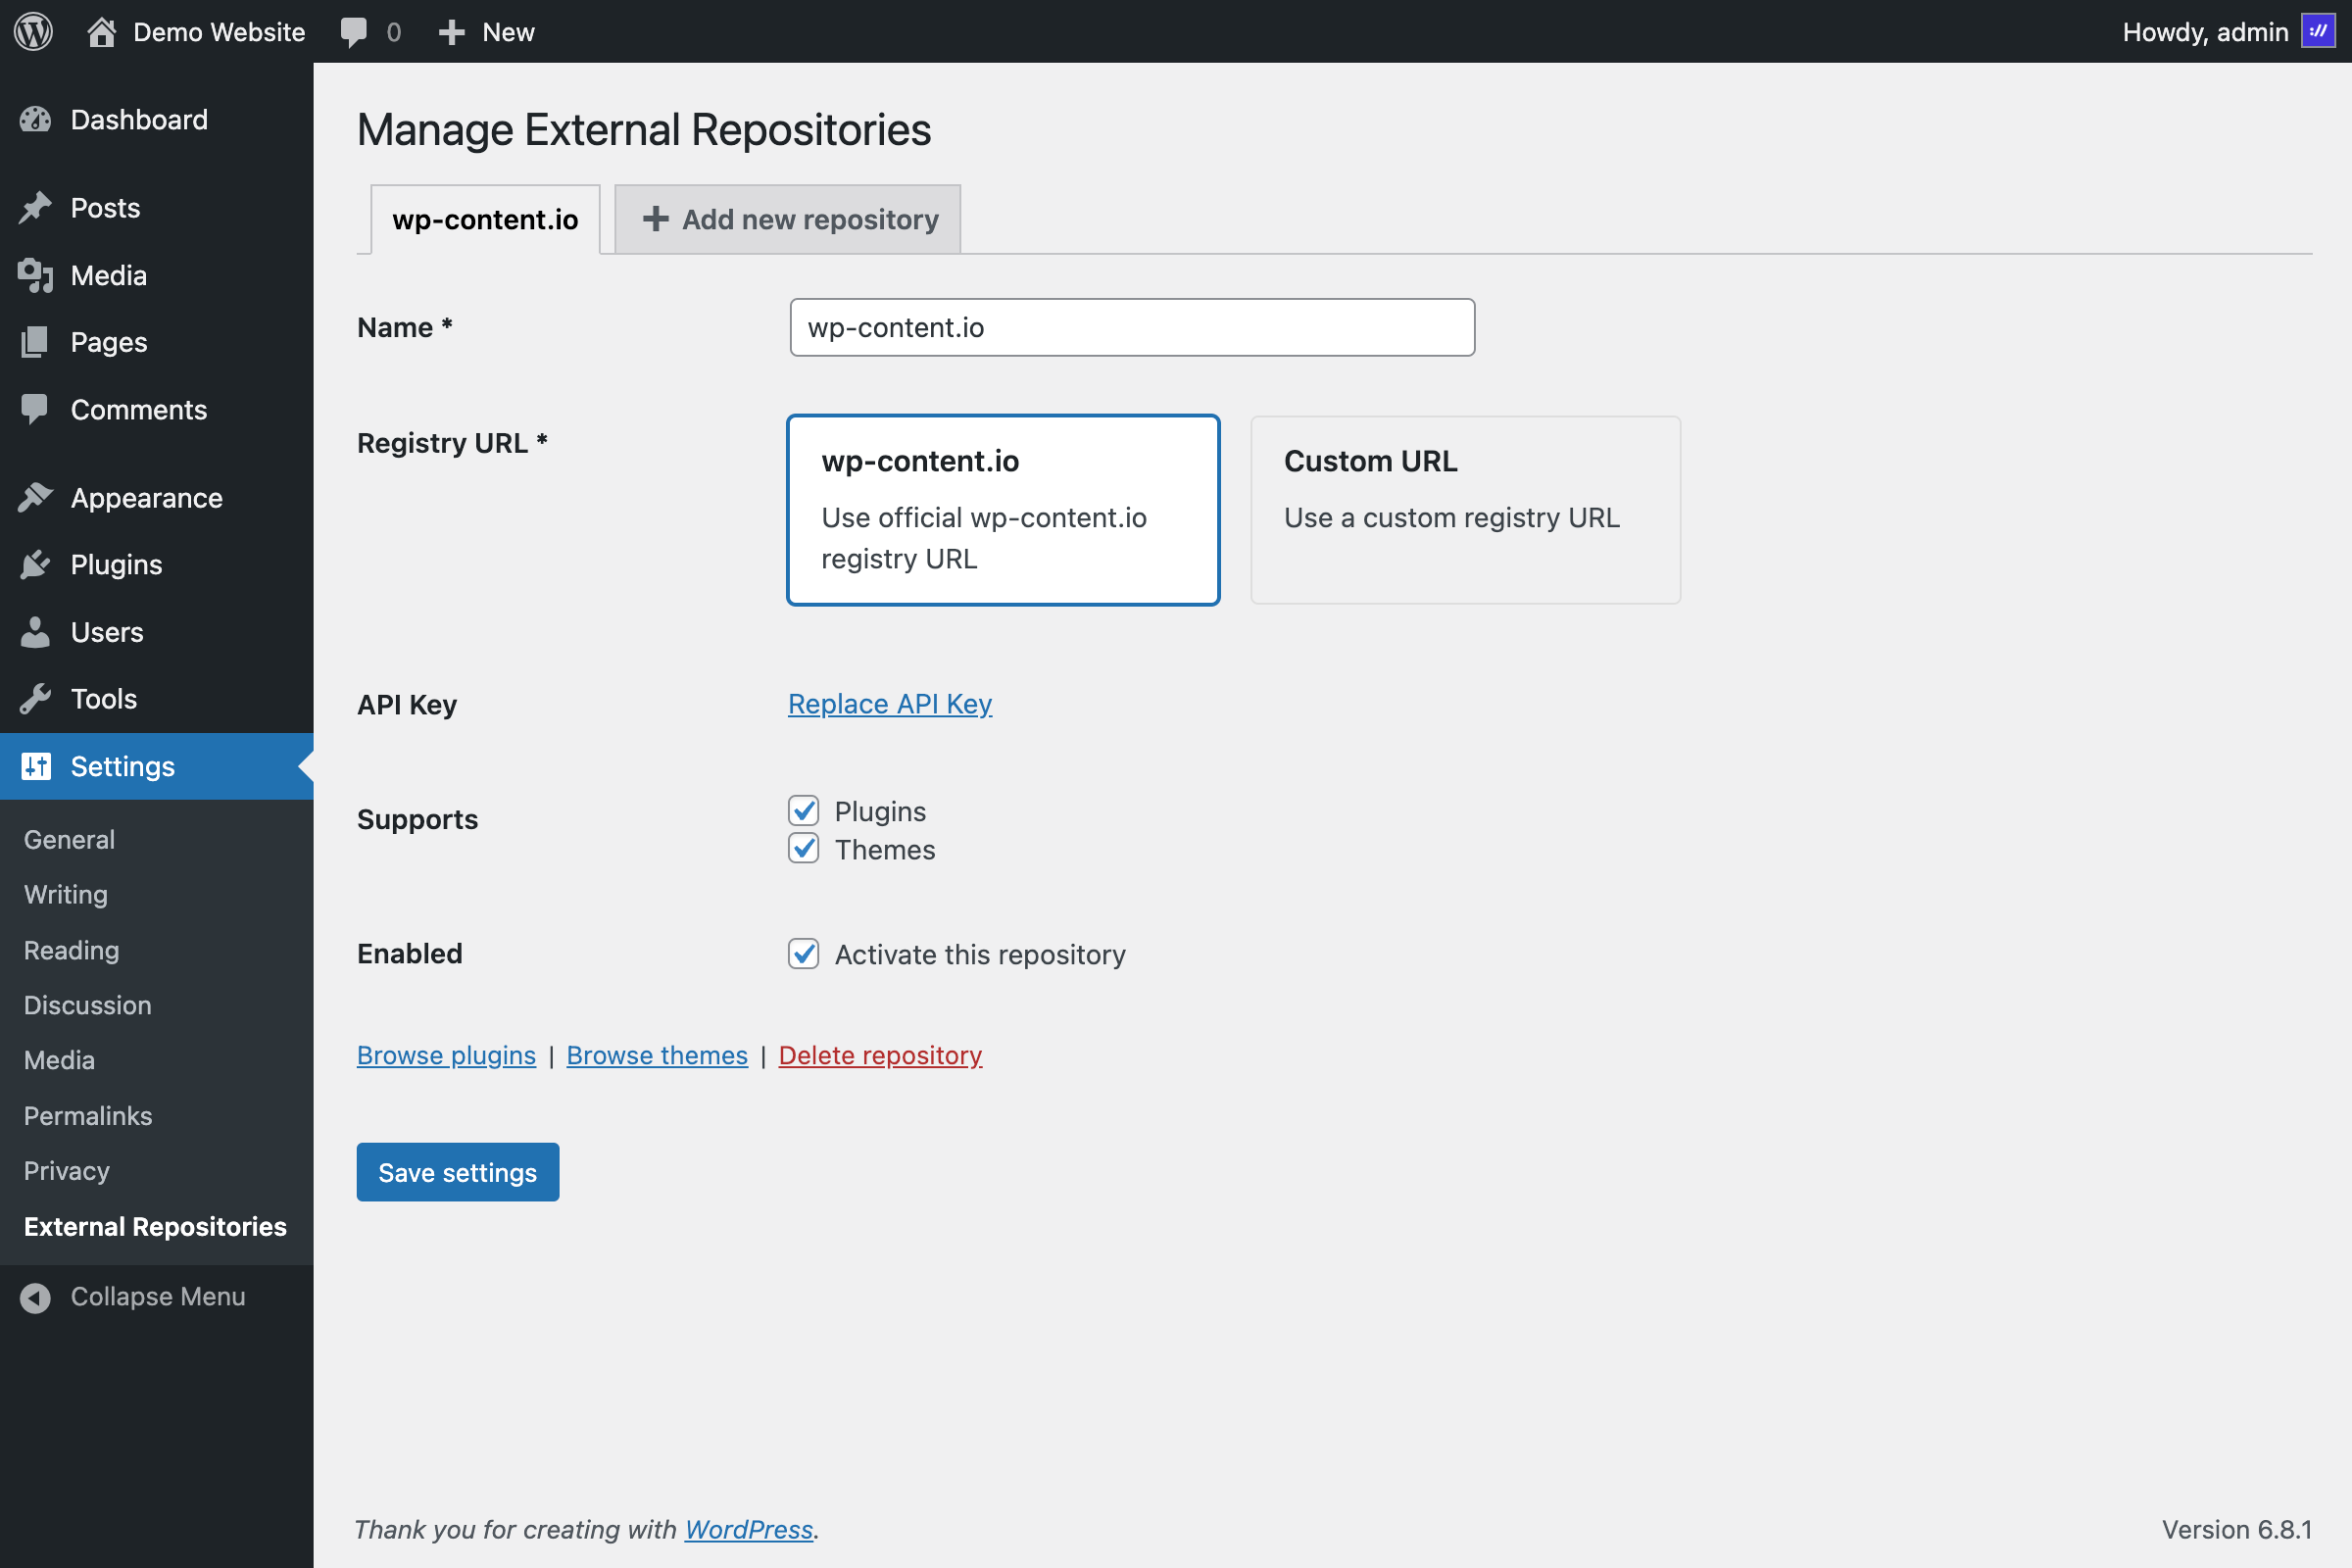 When you publish a new version, it will appear directly in the WordPress admin, just like any plugin or theme from the official repository.
## Troubleshooting
If you’re not familiar with WordPress headers or run into errors during upload, check the detailed setup guides:
How to prepare your plugin for private updates
How to prepare your theme for private updates
When you publish a new version, it will appear directly in the WordPress admin, just like any plugin or theme from the official repository.
## Troubleshooting
If you’re not familiar with WordPress headers or run into errors during upload, check the detailed setup guides:
How to prepare your plugin for private updates
How to prepare your theme for private updates